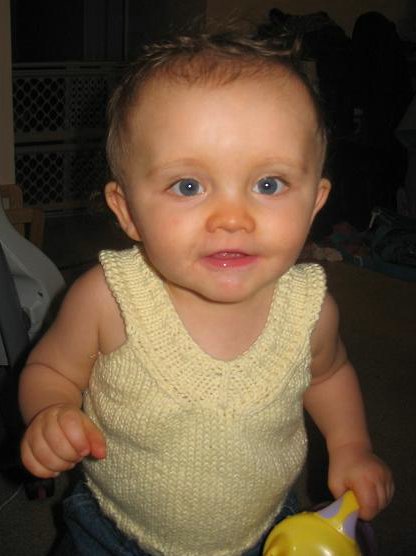

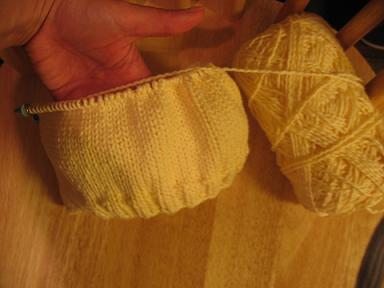
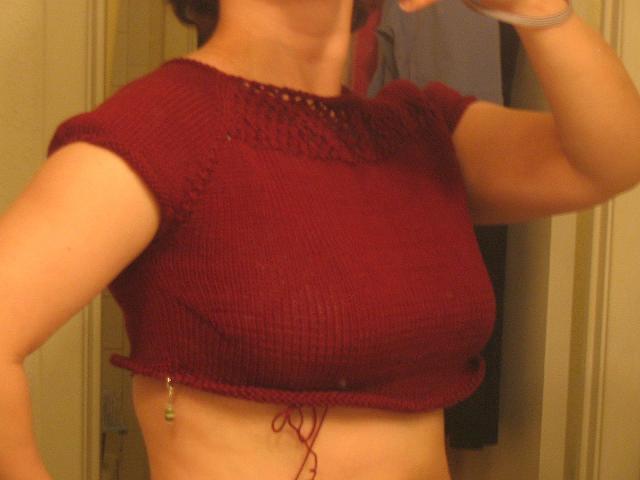
 I "finished" the Kidlet Tank. But... I totally changed the top so that it's a flutter sleeve tank. It was a fun challenge to figure out how to do it! Today I tried it on Marie and the straps were too long/high. So, I'll need to detach the straps and frog back to the correct length. Also, I'll have to remove the flutter sleeves and re-do them starting and ending lower on the straps. Here's a photo of the tank as it is now, before revising it. Green Gable (and other projects) have taken a break while I sort this out. I'm trying to get the tank done this afternoon so that Marie can wear it. If that happens, I'll post pictures the next chance I get, but probably not until at least tomorrow.


 I did it: I added Japanese short rows to Green Gable! How did they turn out? You'll get to see! I took pictures along the way.
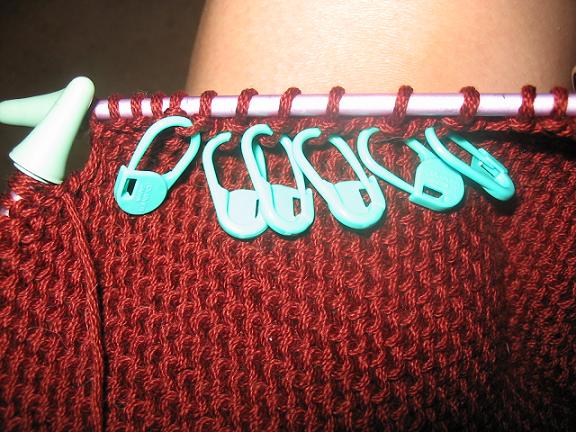 This next picture shows a close-up view of the pinned loops on the backside of my work. They are green and therefore were done at the knitside turning points. The loops are actually between the stitches you see on the needles. At this point in my knitting I was preparing to "take care of" the stitch markers; or as Nona says, "close the gap." See the Nona link above for directions.
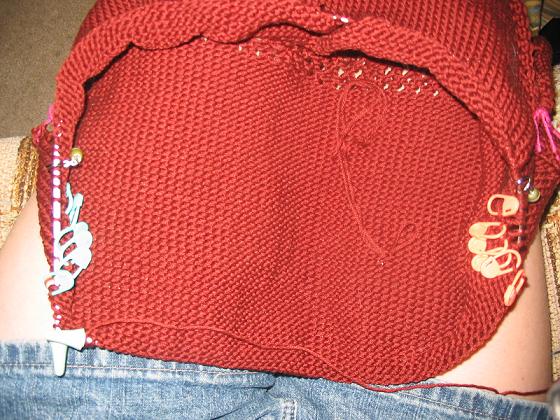
 Here's where I had to figure out what to do about the purlside loops. If my work wasn't in the round, I could just turn it and purl up to these loops. But that's impossible now that I've already picked up the green knitside loops and am forced to continue ITR. So, I figured out a way to mimic Nona's directions. After taking care of the green knitside pinned loops, I knit around to the peach markers, stopping one short, as you can see in this picture.
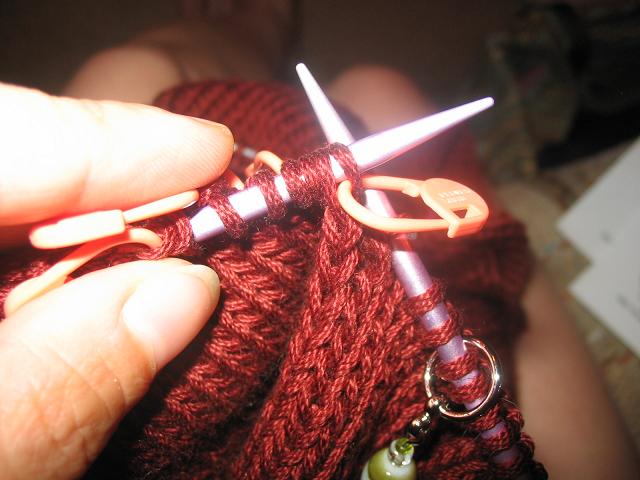 I proceeded to pull the pinned loop past the 1st stitch and onto the needle, correctly mounting the stitch. This might be easier to do using your right needle tip: insert tip underneath pinned loop and place it on left needle. Whichever way you choose to do it, the pinned loop will cross behind the former 1st stitch. Now K2tog.
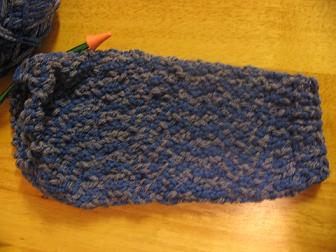
 This last picture represent the result of the purlside Japanese short rows. I was quite pleased at the uniformity and tightness of the stitches. If I had to be knitpicky, I'd only say this: the purlside short row stitches don't lie as flat as the knitside ones. Maybe I could incorporate some twisting of stitches in the process of the K2tog? I'm definitely using Japanese short rows from now on - they look so much better!!!!!


Fantasia Summertime
More on Grouper.com
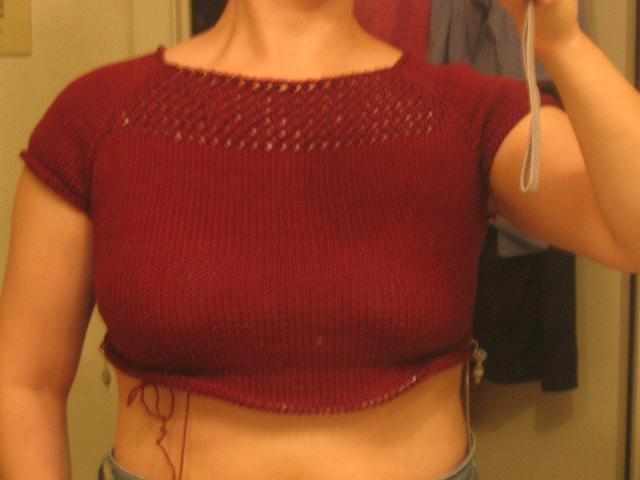
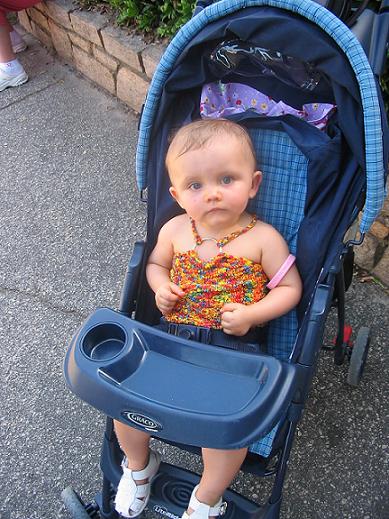
Do you remember what it was like to see yourself for the first time on video? Or, should I say, are you a woman and remember...? Arghhhh. We took our daughter to the beach on Saturday. It was so much fun to watch her since it was her first time at the beach and the ocean. She had a blast sitting in the sand and watching the pelicans. My husband videotaped my daughter and I walking at the water's edge. Well... after getting home later that day, we watched the video. Yikes! When they say the camera adds 10 pounds, they really mean 20! Wow, what a revelation. I didn't realize that I look like that! This might just be the motivation to get running again.
Green Gable, here I come!